
Soooo...It's officially Summer now and you're in that Summer Mood or getting into it depending on your local weather and how your Spring season was... It's suddenly July -oh my- and Summer will go by, so let's make the most of it while it's here, right?! Enter Raw desserts and especially the Raw Key Lime Tart -yay!
Before I dive in to the dessert, I just want to take a moment to thank each of you who asked me for this recipe and chose to sign-up for the Foodsoulutions Blog! YAY!!! THANK YOU! It means so much to me because sharing this stuff with you is my jam, it's what I LOVE TO DO! More than the recipes, tips and tricks, I am at your service to inspire you to nourish yourself and your loved ones through clean cooking and eating well. If you're not a chef or if you're not experienced with clean cooking ( and by this I mean using S.O.U.L.FULL ingredients -Season, Organic, Unrefined, Local + FULL -you put your love into it and nourish yourself in the process), changing up your cooking game can be daunting... simply because you're doing something new and so many of us are quick to judge ourselves in the learning process. Fear, impatience, frustration -that's all normal- so is exuberance and joy because you're taking time to learn something new -so instead of berating yourself -congratulate yourself! Learning something new can be so thrilling!! Choosing to eat more healthfully, have more natural energy, and feel vibrant is an ecstatic choice and on-going process. So CHOSE IN!
Now for the recipe, my mother was the first person to introduce me to this recipe. She was introduced by a friend who was introduced by her friend who was introduced by...(I love the living reality of recipe sharing...) I have tweaked and developed the original recipe to produce a more stable consistency that works better for storage and serving. (That's the chef, recipe developer part of me...I'm always challenging myself to keep learning and understanding how to use ingredients synergistically.)
RECIPE
CRUST INGREDIENTS:
1 cup toasted pecans
1 cup toasted walnuts
1 cup shredded coconut
1 cup pitted mejool dates
1-1 1/2 tablespoon lime zest
generous pinch of sea salt
KEY LIME FILLING INGREDIENTS:
1 large avocado, pitted and peeled
1 1/2 cups raw cashews, soaked in water for 2-4 hours, rinsed and drained
1/2 cup melted coconut oil
1/3-1/2 cup fresh squeezed lime juice
1/2 cup pure maple syrup
1 teaspoon vanilla extract
1-2 tablespoons lime zest
2 teaspoons agar flakes dissolved in several tablespoons of water (please read instructions carefully below for this optional step)
PROCEDURE
1. To make crust add the nuts, coconut, dates, salt, and lime zest to your food processor and process until dough is formed. It may be necessary to stop and scrape down sides of container so that ingredients mix well. Mixture should easily stick together when you pinch it between your fingers. Transfer crust to the bottom of a 9" springform pie pan and press evenly to form the crust. Place pan in freezer to chill while making filling.
2. Blend the filling ingredients in a high speed blender until silky smooth. Adjust maple syrup, lime juice and zest to taste while in blender.
3. Optional step for professional finish: in small sauce heat 2 -2 1/2 teaspoons of agar flakes in several tablespoons of water. As liquid heats stir constantly with a small spatula to dissolve agar flakes. Pay attention to liquid as the water will boil off quickly and more may need to be added until all agar flakes are dissolved. This requires patience and attention so stay present. When all agar flakes appear to be dissolved (liquid should look slightly viscose, smooth and clear) you're ready to add the agar to the filling ingredients in the blender. Quickly process filling at high speed for about 30 seconds so that agar mix gets thoroughly incorporated into the filling. This step will create a more stable filling that won't melt down so quickly in serving process.
4. Remove pie pan from freezer and pour filling into the pan, smoothing surface with a spatula for a finished look.
5. Chill pie at least two hours in freezer. Cool at room temp 30-45 minutes before serving or alternatively, keep in fridge for several hours until it reached desired consistency.
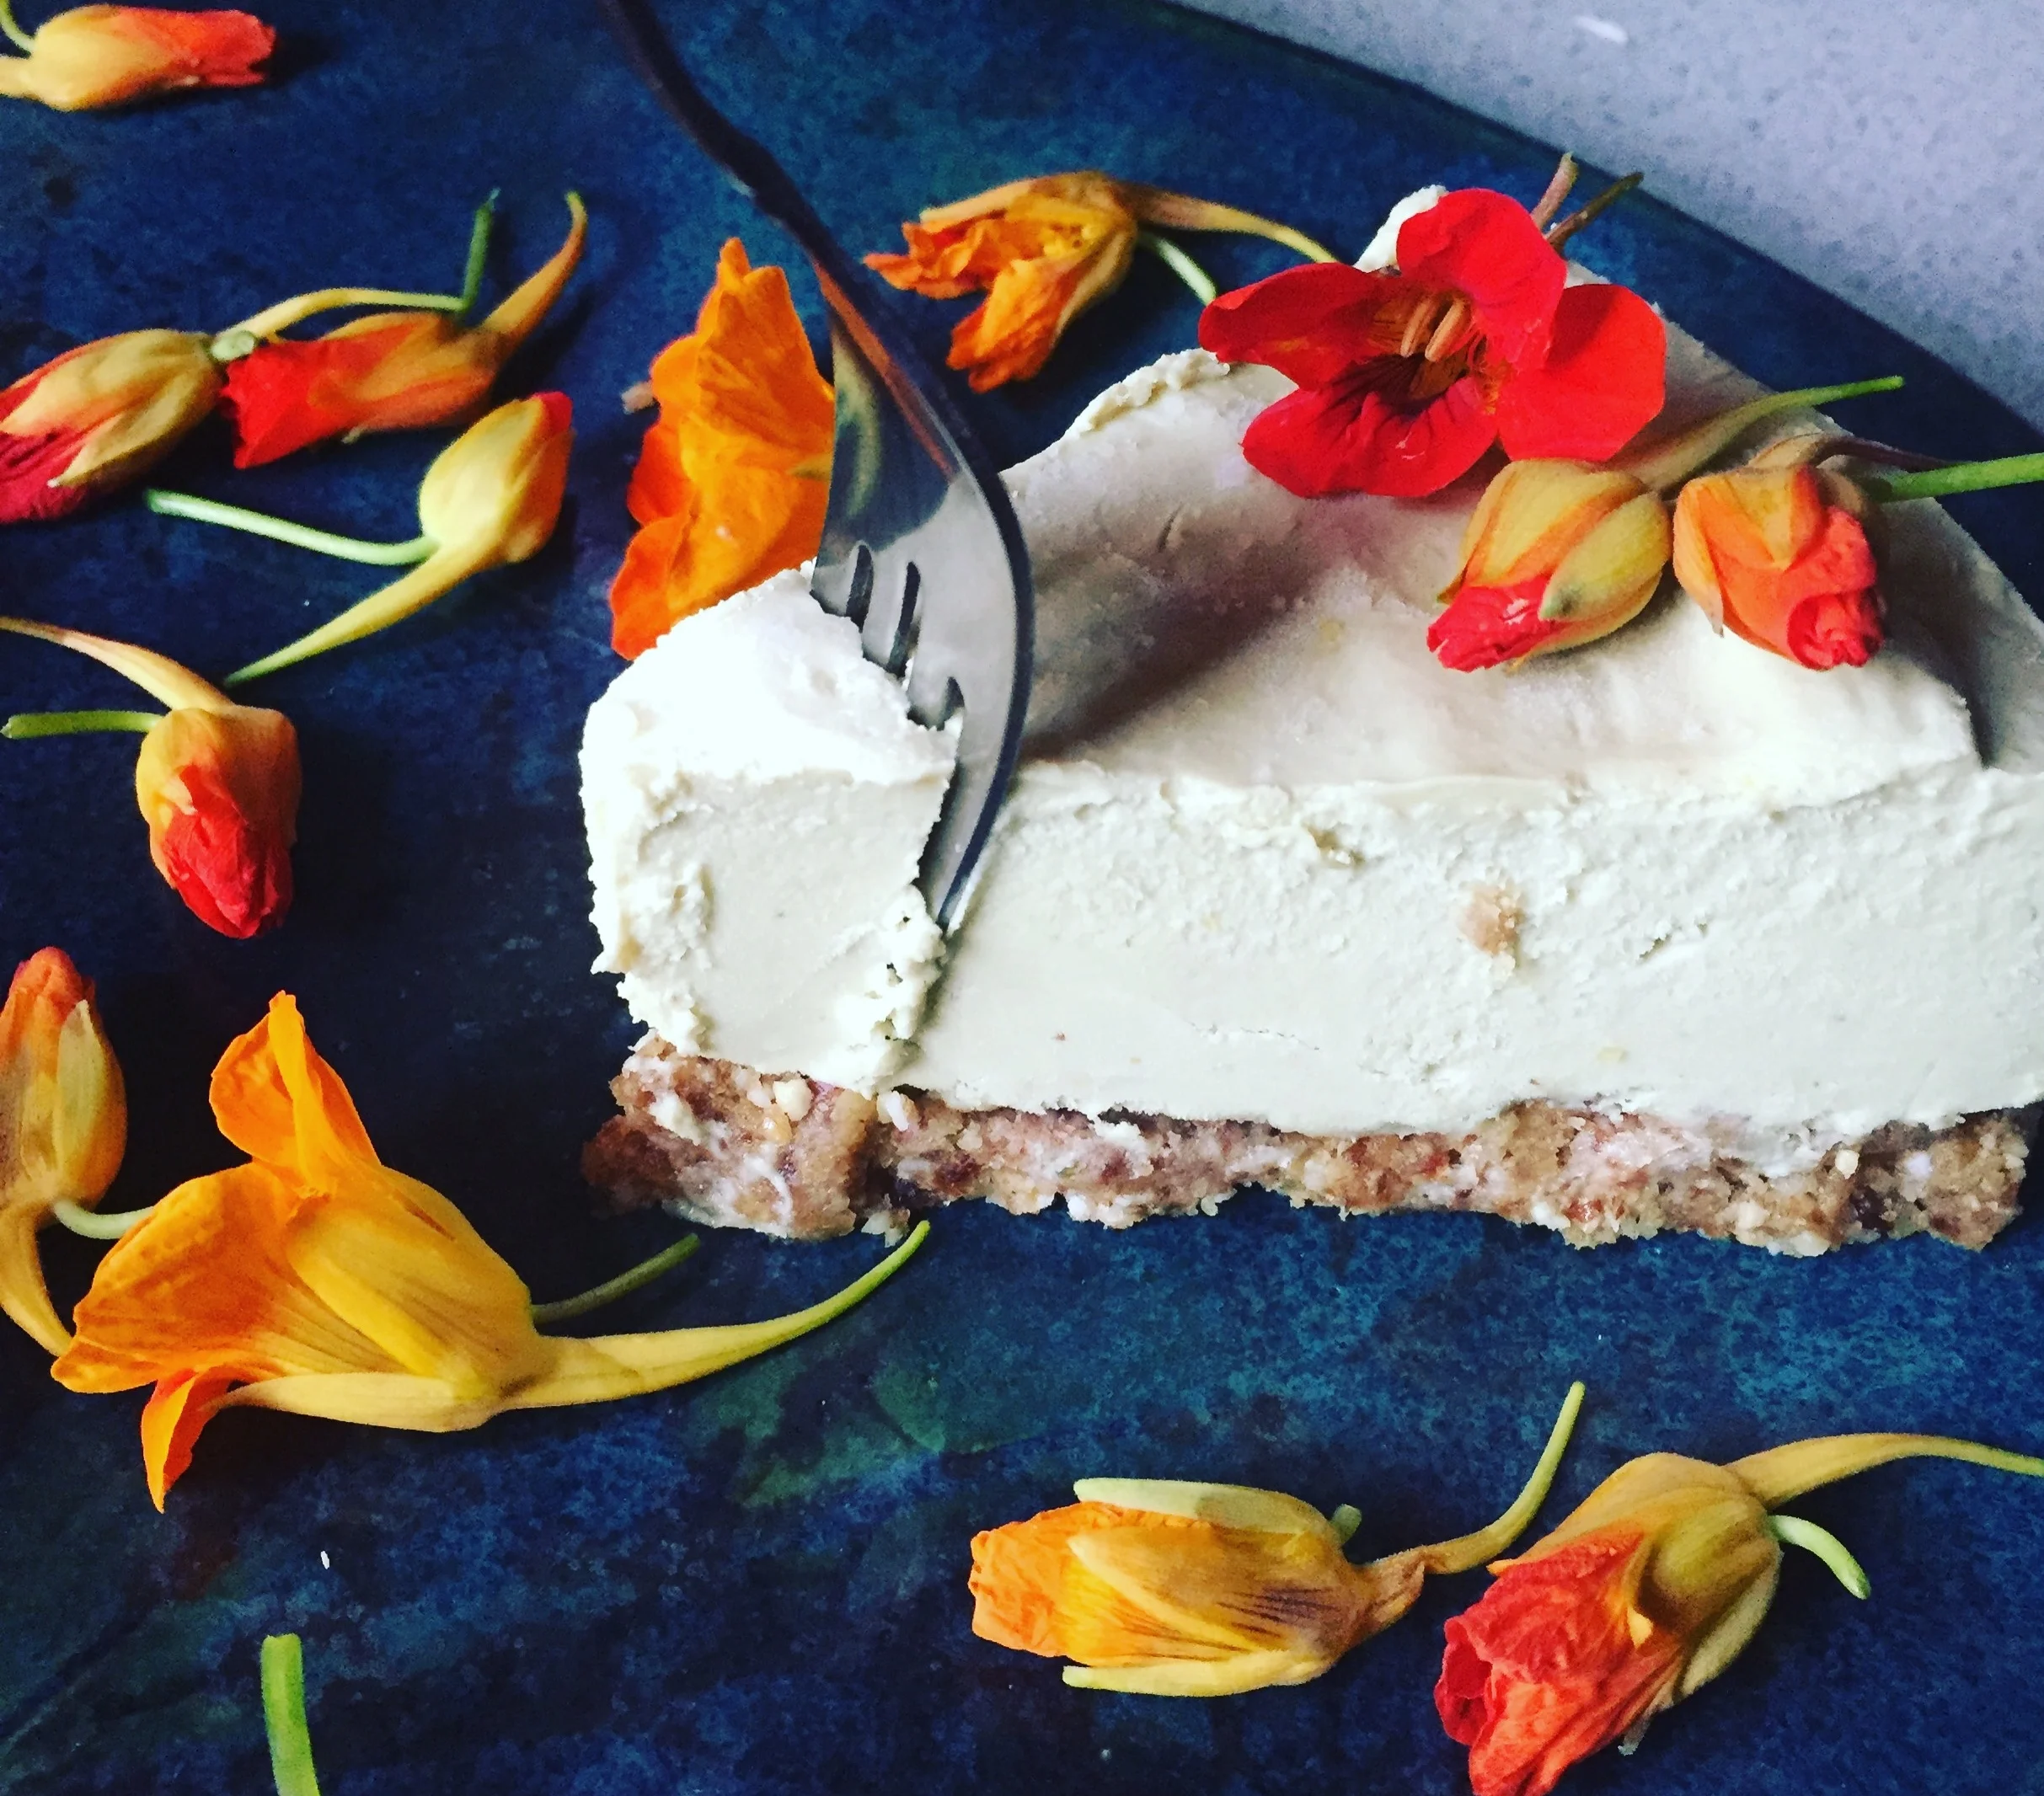
6. Garnish with a final sprinkle of lime zest and edible flowers (optional). It tastes great with whip cream, fresh berries or or a raspberry coulis.
Pie storage: To freeze pie wrap tightly with plastic wrap and store in large zip lock if possible to prevent any discoloration from occurring. Pie can be stored in fridge for several days.
With LOVE,
Jennifer @foodsoulutions